If you’ve ever tried to plan a home theater, you know how quickly the conversation jumps to models and specs: “Which projector should I buy? How many speakers? Is this receiver enough?”
The problem is simple: most projects start with the gear and only think about the room later. That’s the fastest path to blown budgets, awkward seats, glare on the screen, and a system that never feels quite right—no matter how expensive the equipment is.
AVI Group takes the opposite approach. After more than two decades designing theaters in basements, bonus rooms, and open-plan homes across metro Atlanta, the pattern is unmistakable: when you start with the room, everything else gets easier. The result is a home theater design framework that any homeowner can understand and use.
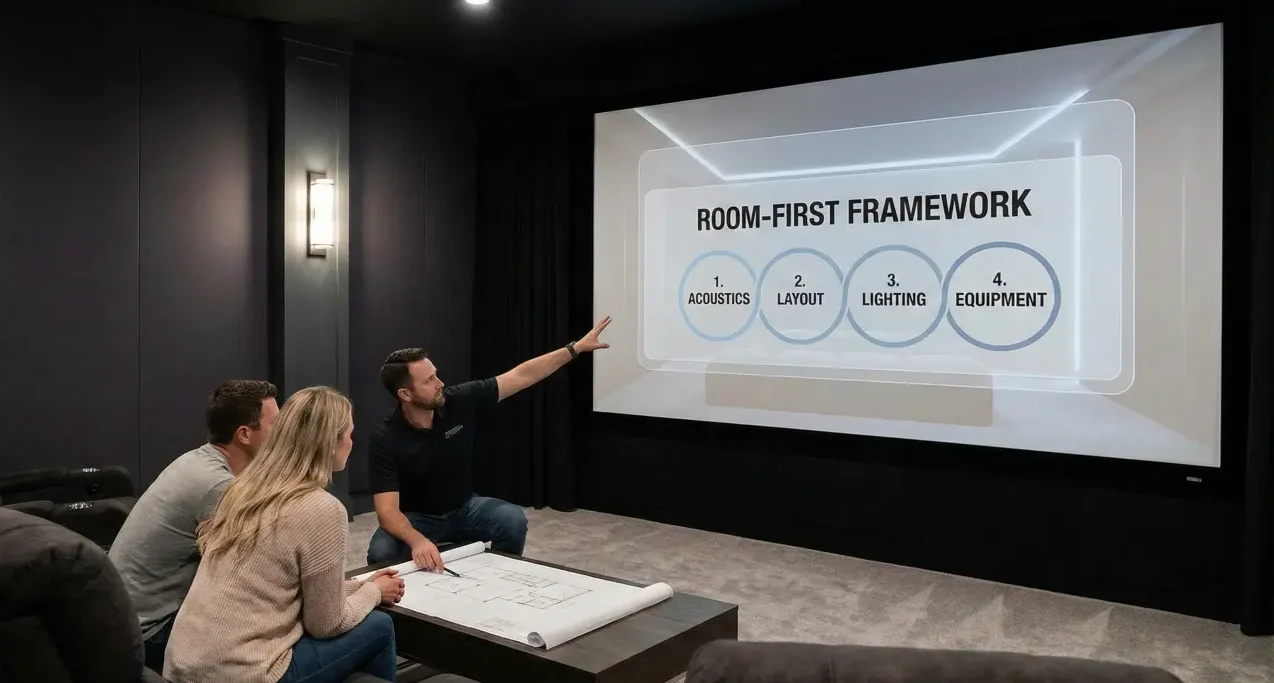
We call it the Room-First Framework—a four-step method that treats the room as the product, and the gear as tools that serve it.
Why Starting With Gear Leads to Compromise and Regret
The Typical Sequence: Buy Gear, Then Call a Pro (Too Late)
For many homeowners, the journey looks like this:
- See a beautiful theater online or in a friend’s house.
- Start buying components on sale—projector, speakers, receiver.
- Realize partway through that the room shape, wiring, and seating don’t quite work.
- Call an integrator and ask them to “make it all fit.”
By that point, critical decisions are already locked in: where doors are, how high the ceiling is, how far the main seat is from the wall. A lot of time is spent trying to work around constraints that could have been handled up front.
Three Symptoms of a Gear-First Theater (Neck Cranes, Glare, and Echo)
You can usually spot a gear-first theater by its pain points:
- Neck cranes – The screen is too high or too close, so the best seat in the room is uncomfortable for a full movie.
- Glare and reflections – Light from windows, glossy surfaces, or fixtures washes out the image and distracts the eye.
- Echo and muddiness – Hard floors, bare walls, and ceilings turn great speakers into a noisy, fatiguing experience.
These are room problems, not gear problems. Upgrading components won’t fix them—at least not efficiently.
How a Room-First Approach Simplifies Every Later Decision
A room-first home theater design framework flips the sequence:
- Understand the room – Dimensions, openings, ceiling, and constraints.
- Design layout and sightlines – Where people sit, where the screen lives.
- Dial in light and acoustics – The two invisible levers of performance.
- Plan infrastructure – Wiring, power, rack location, and future flexibility.
Once those four layers are defined, questions like “which projector?” and “which speakers?” are no longer guesses; they’re choices made inside a clear, well-constrained design.
Step 1 — Understand the Room: Volume, Shape, and Constraints
The first step of the Room-First Framework is deceptively simple: measure and understand the box.
Measuring What Matters: Dimensions, Openings, Ceiling Height
Beyond width and length, three factors quietly decide your options:
- Ceiling height – Determines whether you can do risers, how big the screen can be, and what kind of atmospherics (like ceiling speakers) make sense.
- Room volume – Affects how much bass the room can handle gracefully and how “big” the sound can feel.
- Openings and transitions – Door locations, stairways, and openings to other spaces all influence layout, noise, and light.
Even a quick sketch with rough dimensions is enough to start mapping realistic possibilities. The goal at this stage is not perfection; it’s awareness.
Fixed Obstacles: Doors, Columns, Windows, and Bulkheads
Every real room has quirks—support columns, soffits, oddly placed doors, or a row of basement windows. Instead of treating these as annoyances at the end, the framework brings them forward:
- Can a door swing be flipped or relocated during renovation?
- Can columns be visually integrated into a design, or do they dictate seating rows?
- Do windows need shades, or is a partial light lockoff possible?
You’re not “just stuck” with your obstacles. Often, small changes in framing or layout can make a “difficult” room work beautifully—if they’re considered before drywall and paint.
When the Room is “Bad” and How Design Still Saves It
Some rooms truly aren’t ideal for a classic, rectangular theater: low ceilings, odd angles, or multiple openings. That doesn’t mean you abandon the project. It simply means:
- You may lean toward fewer premium seats that are truly excellent, instead of trying to cram in too many.
- You may emphasize media-room-plus designs—high-performance yet more flexible—rather than chasing a reference cinema in the wrong envelope.
- You’ll treat acoustic and light control as essential tools for “reshaping” the room experience.
The room-first mindset doesn’t require a perfect box. It just requires acknowledging reality early and designing with it instead of against it.
Step 2 — Layout and Sightlines: Where People Actually Sit
Once you understand the room, you can answer the most important question in home theater design: where do people sit, and what do they see?
The “Everyone Gets a Good Seat” Rule of Thumb
A high-quality theater is not about “one magical sweet spot” and a bunch of mediocre chairs. The Room-First Framework uses a simple rule:
If you wouldn’t want to watch a full movie from that seat, it’s not a primary seat.
This drives decisions about:
- Number of rows vs comfort in a single row
- How wide the main seating area can be before side seats feel “off axis”
- Whether bar seating or back-row stools count as true viewing positions or just social overflow
You’re designing for people, not for diagrams.
Screen Size and Height Based on Seating, Not Ego
It’s tempting to chase the biggest possible screen, but size without proportion becomes tiring, not immersive. A few simple guidelines help:
- Viewing distance should be based on how wide the screen feels, not just diagonal inches. Many pros use a range so the field of view feels cinematic but not overwhelming.
- Screen height should allow viewers in the main row to look slightly up, not crane their necks for two hours.
- The center of the image should align with how people actually sit—reclined vs upright, kids vs adults.
When you use seating to dictate screen size and placement, you turn “How big can we go?” into “How big should we go for this room and this family?”
Tiered Seating, Aisles, and Access for Real Families
Rows and risers aren’t just for looks:
- Riser depth and height need to be comfortable and safe; this is where discussions with your contractor or integrator about code and structure matter.
- Aisles and paths should allow people to enter and exit without blocking the screen or walking in front of others.
- Step lighting and handholds need to be considered early so they don’t become afterthoughts.
The Room-First Framework treats circulation as a design element—not a leftover space you squeeze in at the end.
Step 3 — Light and Acoustics: Two Invisible Design Levers
This is where a room-first home theater design framework really pulls away from generic gear lists. Light and sound control are the two invisible levers that make modest systems feel expensive and premium systems feel effortless.
Managing Light: Paint, Fabrics, Shades, and Screen Choices
For video, the enemy isn’t just brightness; it’s unwanted light and reflections:
- Darker, matte finishes on walls and ceilings near the screen help the picture “float” instead of being haloed by reflections.
- Window treatments—blackout shades, lined drapery, or both—can turn a daytime basement into an evening cinema.
- Screen choice should match the room: some screens are designed to fight ambient light; others excel in controlled environments.
Small choices like paint sheen, fabric texture, and sconce placement add up. They’re often more impactful than the difference between two projector models.
Surfaces and Sound: Floors, Walls, and Ceiling Strategies
Acoustics doesn’t have to be mystical. The Room-First Framework focuses on what the sound hits first:
- Hard floors plus bare walls plus a flat ceiling will usually sound sharp and echoey.
- Adding a soft rug, some upholstered seating, and strategic wall/ceiling treatments calms the room dramatically.
- Placement of absorption (to tame reflections) and diffusion (to keep the room lively) is more important than simply “putting foam everywhere.”
You don’t need to turn your theater into a recording studio. You do need to respect the fact that the room is an instrument, and your speakers can only play as well as that instrument allows.
Common Acoustic Mistakes Homeowners Make Trying to DIY
Some well-intentioned mistakes show up again and again:
- Over-treating the room with too much absorption so it feels “dead” and unnatural.
- Placing subwoofers only where they’re visually convenient, even if they excite room problems.
- Ignoring door gaps, open backs, and rattling fixtures that make the room noisy at higher volumes.
A room-first mindset doesn’t mean doing everything at once; it means being strategic about which few moves will make the biggest difference.
Step 4 — Infrastructure: Wiring, Power, and Equipment Location
Infrastructure is the skeleton that supports your theater. You rarely see it—but if it’s wrong, you feel the limitations for years.
Prewiring for Today’s Gear and Tomorrow’s Formats
A room-first home theater design framework always asks: “What might this room want to be in five or ten years?”
That means:
- Running more speaker wire than you think you need, even if you’re not installing every speaker now.
- Providing multiple conduit paths from the rack location to screen wall, projector position, and key seating zones.
- Ensuring solid network connectivity and power where components may move or expand.
The goal is not to predict every future format; it’s to avoid trapping yourself with a room that can’t evolve.
Rack and Ventilation: Keeping Noise and Heat Out of the Room
AV equipment generates heat and fan noise. If the rack sits in the back of the theater or under the screen, you’ll hear it and feel it.
Good infrastructure planning:
- Places the rack in a nearby closet, under-stair space, or mechanically ventilated niche.
- Provides enough power circuits to avoid overload and nuisance trips.
- Includes ventilation paths and service access so gear can be upgraded without tearing into finished surfaces.
These are questions to raise with your integrator and contractor early, so any structural or electrical work respects local codes and safety standards.
Flexibility vs Cleanliness: Conduits and Access Panels
Everyone wants a clean look—no visible wires, no awkward boxes. But absolute minimalism can become its own problem when something needs to change.
The framework encourages planned access:
- Discreet access panels where key junctions live
- Conduits that allow new cables to be pulled without patching walls
- Wire management that makes future service straightforward instead of a nightmare
You’re not just designing for opening night; you’re designing for every service, upgrade, and tweak over the life of the room.
Why “Perfect Gear in a Bad Room” Is Still a Bad Theater
The Myth of Upgrading Your Way Out of Room Problems
It’s tempting to believe that a new projector, a bigger subwoofer, or a higher-end speaker package will fix a theater that doesn’t feel right. Experience says otherwise:
- If seating is too close, a sharper projector just makes the discomfort more obvious.
- If the room is echoey, more powerful speakers just send more energy into a bad acoustic.
- If light control is poor, a brighter projector only fights a losing battle.
Equipment upgrades can be worthwhile—but only when they’re working with the room, not against it.
Why Modest Gear in a Good Room Beats Flagship Gear in a Poor One
On the flip side, modest gear in a well-designed room often surprises people:
- A sensibly sized screen at the right distance feels larger and more immersive than an oversized image in a bright, reflective space.
- Mid-range speakers in a calm room with good bass management can sound more articulate than exotic gear in a chaotic one.
This is the heart of a room-first home theater design framework: the room multiplies the value of whatever you put in it.
How Pros Think About Diminishing Returns on Equipment
Experienced designers don’t just ask, “Is this component better?” They ask:
- “Will this upgrade make a noticeable difference in this room?”
- “Are we hitting a room limit where more spend won’t translate?”
- “Would the client be happier if we put this budget into seating, finishes, or acoustics instead?”
That’s how you avoid spending the last 20% of your budget for the last 2% of improvement.
Turning the Framework into a Practical Plan
Simple Worksheets and Sketches Any Homeowner Can Start With
You don’t need CAD software to begin using the Room-First Framework. Start with:
- A hand sketch of the room with dimensions and openings
- Circles for seating positions and a rectangle for the screen
- Notes on windows, columns, and any areas you can’t change
From there, a simple planning guide can walk you through:
- Which walls are candidates for the screen
- Where primary seats should go
- What light and acoustic challenges are most important
The goal isn’t perfection; it’s to bring structured thinking to what often feels like guesswork.
What Information an Integrator Needs to Move Quickly
The more clarity you bring, the more value a professional can add. Helpful inputs include:
- Photos or video of the room
- Rough dimensions and ceiling heights
- Your household profile: how many people, what you watch, how often
- Any constraints (must keep this door, need occasional desk space, etc.)
With that in hand, an integrator can map your situation onto the home theater design framework and propose options instead of starting from zero.
How to Phase the Project if Budget Requires Stages
A room-first approach also makes phasing much easier:
- Phase 1 – Room work and infrastructure: layout, wiring, lighting, finishes.
- Phase 2 – Core AV: screen, speakers, electronics that hit a solid baseline.
- Phase 3 – Refinements: upgraded seating, treatments, automation, or higher-end gear.
Because the room and infrastructure are built with the end in mind, each phase feels complete—but also leaves a clean path for future upgrades.
Right after mapping the four steps and how they apply to your space, it’s a natural moment to download a Room-First Planning Guide—a simple worksheet that walks you through measurements, sketches, and priorities—so you can put the framework into action without losing momentum.
If you already have a room in mind and want professional eyes on it, you can request a Room Assessment to review your layout, constraints, and options before any demolition or purchases.
Transformation: From “Random Upgrades” to a Coherent Theater Design
Story: The Room That Finally Stopped Changing Every Year
A common pattern in metro Atlanta homes goes like this:
- Year 1: Buy a big TV and basic surround system.
- Year 2–3: Upgrade the receiver, swap speakers, add a subwoofer.
- Year 4: Replace the TV with a projector because “it still doesn’t feel cinematic.”
- Year 5: Realize the seating is wrong, the screen is too high, and the room still doesn’t quite work.
One family reached that point and paused. Instead of another round of upgrades, they worked through the Room-First Framework:
- They rethought seating and riser depth.
- They darkened the front half of the room and added simple acoustic treatments.
- They moved the rack out of the space and cleaned up wiring.
The only new gear was a better-calibrated screen and some improved speakers—but the room finally felt “finished.” For the first time, they stopped chasing fixes and simply enjoyed the theater.
How a Framework Protects You From Trend Chasing
New formats, platforms, and brands will keep coming. Without a framework, every new headline can feel like a reason to rework the room.
With a room-first design:
- You know which changes are structural and which are cosmetic.
- You can see when a new technology actually solves a problem your room has—versus when it simply adds complexity.
- You evaluate upgrades through the lens of “Does this make our experience meaningfully better in this room?”
The theater becomes a system with a spine, not a pile of experiments.
The Confidence of Knowing There’s a Plan Behind Every Decision
Perhaps the biggest benefit is emotional: you know why things are where they are.
- The screen height isn’t random; it’s tied to seating and sightlines.
- The finishes aren’t just décor; they have a purpose for light and sound.
- Wiring and infrastructure aren’t mysteries; they’re mapped and documented.
That confidence makes conversations with contractors, designers, and integrators smoother—and it makes movie night a lot more fun.
When to Bring in a Pro (and What They Actually Add)
Reading the Room: Site Visits, Modeling, and Calibrations
There’s a point where a professional integrator’s tools and experience can save you time, money, and frustration:
- They can read the room quickly—spotting potential issues with seating, light, and acoustics that aren’t obvious on paper.
- They can model sightlines, viewing angles, and speaker coverage in software before a single hole is cut.
- They can calibrate audio and video so the room and gear work together at their full potential.
You’re not hiring someone to pick boxes off a shelf; you’re hiring them to translate the framework into a finished space.
Coordinating With Builders, Electricians, and Designers
A well-run theater project needs coordination:
- Builders and framers for risers, niches, and structural changes
- Electricians for circuits, lighting zones, and code-compliant power
- Designers for finishes, fabrics, and visual continuity with the rest of the home
An experienced AV partner acts as a bridge among these trades, keeping the vision intact while respecting safety and local building requirements.
Keeping the Project on Budget Without Gutting the Experience
Finally, a pro can help you protect the experience when budgets tighten:
- Identifying where you can safely scale back equipment without hurting the core experience
- Highlighting non-negotiables—like certain wiring paths or layout decisions—that you shouldn’t cut
- Suggesting a phased approach that keeps the Room-First Framework intact while spreading investment over time
If you’re starting to think about your own home theater design framework and want a structured way to move forward, you can download a Room-First Planning Guide and use it to capture your room measurements, constraints, and goals.
If you’re starting to think about your own home theater design, requesting a Room Assessment from a theater designer can turn that plan into a clear, buildable path—whether your theater lives in a quiet Alpharetta basement, a Buckhead bonus room, or anywhere in between.