
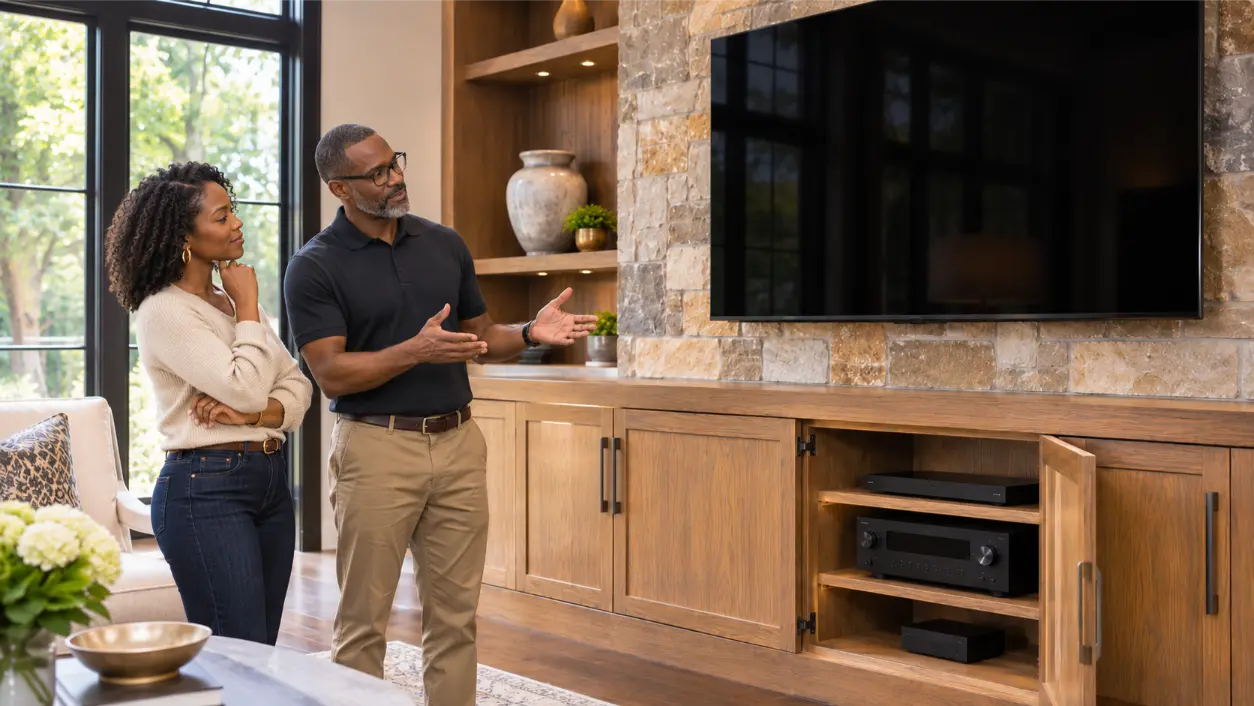
Media cabinet cable management should make a home theater easier to use, not just hide the tangle behind a door.
When power cords, HDMI cables, speaker wires, a streaming box, and an AV receiver share a crowded shelf, the cabinet can be frustrating to service and may trap heat around equipment. The goal is an organized layout with enough airflow, accessible connections, and controls that still work when everything is put away.
For homeowners in Atlanta, Alpharetta, Kennesaw, Dunwoody, and surrounding Georgia communities, this guide explains nine practical ways to organize equipment without turning a cosmetic cleanup into a wiring or ventilation problem. Some tasks are straightforward; changes to household wiring and complex integrated systems should be handled by qualified professionals.
Start With the Cabinet, Not a Bag of Cable Ties
A sleek media console is not automatically a good equipment cabinet. Shelves can restrict airflow, block infrared commands, and complicate service. Before buying organizers, open the cabinet, turn off equipment according to its instructions, and identify what is actually installed.
Write down the model names of the receiver, amplifier, game console, streaming player, network switch, router, and power equipment. Note whether each device is essential, how often it is used, and which cables connect it to another component. Follow manufacturer placement and ventilation instructions.
Nine Steps to a Cleaner, More Reliable Media Cabinet
1. Draw a Simple Equipment and Cable Map
Before unplugging everything, photograph the back of the cabinet from several angles. Mark the cables for TV video, network, speakers, audio sources, control accessories, and power. Sketch a simple connection map: source device to receiver, receiver to display, receiver to speakers, and network equipment to its destination. This distinguishes identical-looking cables.
Decide which devices can leave the cabinet entirely. Old equipment, duplicate streaming boxes, abandoned adapters, and unused cables add clutter without improving the system. Verify unknown adapters before removing them.
2. Measure the Equipment, Shelves, and Rear Connections
Measure each device’s actual width, height, and depth, including attached plugs, connectors, and a workable bend for cables. A receiver that fits may still lack airflow. Avoid sharply bending thick cables against the back panel or placing equipment where a connector is crushed whenever the cabinet moves.
Arrange the most frequently serviced components so they can be removed without dismantling the entire cabinet. Support heavy equipment properly and keep ventilation slots open. Do not use an arbitrary one-inch or two-inch gap as a guarantee of safe receiver operation: the manufacturer, device heat output, and cabinet design determine the needed clearance.
3. Design an Air Path, Not Just a Vent Hole
Excess heat is a common reason to revisit ventilation for a media cabinet. A cabinet may have a decorative grille but still trap warm air if there is no practical intake-and-exhaust path. The equipment’s own airflow direction matters too: some devices draw air from the sides or front, while others vent through the top or rear.
Legrand AV’s thermal-management guidance describes three connected questions: how each component breathes, how air travels through the enclosure, and how the surrounding room receives the rejected heat. For a simple cabinet, an appropriate open back or properly placed vents may help. For a dense rack, an AV designer may evaluate fan-assisted airflow and how warm air exits instead of circulating inside the cabinet.
Do not block cooling openings with decorative panels, fabric, books, or coiled cords. If a receiver repeatedly feels unusually hot, shuts down, or displays thermal warnings, stop using the affected setup and review the manufacturer’s troubleshooting guidance. A poorly placed fan is not a guaranteed fix.
4. Separate Cable Routes Into Manageable Groups
An oversized bundle is hard to trace. Group cables by purpose: power, video, data, speakers, and any control wiring. Use reusable hook-and-loop straps where appropriate and leave enough slack to withdraw a device for service. Avoid tight bends, pinched insulation, or tension on HDMI sockets and delicate connectors.
Install cable guides, trays, or channels that fit the furniture and keep access open. Position signal cable routes thoughtfully around power equipment based on the equipment’s instructions and the installer’s design. Sleeves must not conceal damaged cords or blocked ventilation. Permanent in-wall cabling requires suitable listed materials and installation methods.
5. Label Both Ends Before the Cabinet Is Closed
Small labels can save a surprising amount of time later. Label each end of a cable with its destination: “TV HDMI,” “Left Speaker,” “Network Switch,” or “Console.” Keep the labels short and legible without wrapping them around connector contacts or hiding identifying information that a technician may need. Save a photo and source list.
Label power adapters as well, especially where similar connectors supply different devices. Do not swap unmarked power supplies merely because the plugs fit; voltage, polarity, current capacity, and equipment requirements may differ. Each power source should remain identifiable.
6. Make Power Distribution Safe and Accessible
When figuring out how to hide cables in a TV cabinet, electrical safety takes precedence over a flawless appearance. A power strip adds receptacles, not additional branch-circuit capacity. The Electrical Safety Foundation International warns against overloading circuits, while its extension-cord guidance says not to chain multi-outlet devices together or substitute extension cords for permanent wiring.
Use only appropriately rated power accessories consistent with their labels, instructions, and the system’s electrical load. Do not run ordinary power cords through walls or furniture passages that pinch, damage, or overheat them. Keep plugs reachable for safe disconnection. If the only way to power the cabinet involves multiple extension cords, improvised outlets, or a warm or buzzing receptacle, ask a qualified electrician about a proper permanent solution. Surge protection cannot fix an overloaded circuit.
7. Preserve Access for Service and Future Changes
The best way to organize AV components is to assume that one day a router will be replaced, a streaming device will need a reset, or an HDMI cable will fail. Plan how to reach the back of each unit. Removable rear panels, accessible cable guides, a movable equipment shelf designed for the load, and service slack can all make routine maintenance easier.
Leave room for the door to open without dragging on wiring, and keep the path clear for removing the largest component. Keep source-device swaps independent of fixed wiring. AVI Group’s home theater design and installation work includes component integration and media-room planning, where these decisions can be resolved before furniture is built or installed.
8. Confirm How the Remote Works With Closed Doors
Does a universal remote work with a closed cabinet? Sometimes. It depends on how the remote sends commands and how the equipment receives them. Traditional infrared (IR) controls generally need a clear path to the device’s receiver. Solid cabinet doors can block that path; even tinted glass or placement can affect performance. An appropriate IR receiver-and-emitter arrangement can relay supported commands to equipment inside.
Other remotes and control systems may use radio frequency, Bluetooth, Wi-Fi, or IP communication, but those methods have device-specific pairing, range, network, and compatibility requirements. A universal remote does not automatically control every component once the door shuts. Test normal commands with the cabinet closed. If you need integrated control, AVI Group’s home networking services address the wired and wireless connections that many modern media systems depend on.
9. Test the Whole System Before Calling It Finished
Once cables are secured, run the system under normal viewing or listening conditions with doors positioned as they will be in daily use. Check that the television displays each source, the correct speakers play, the network connection is dependable, and controls respond consistently. Observe whether equipment warnings appear or heat accumulates excessively. A quick power-on does not establish adequate long-term cooling.
Photograph the final layout and keep a simple list of device models, cable labels, and service contacts. Recheck the arrangement after regular use.
Choosing a New Cabinet Versus Upgrading Existing Furniture
If the current cabinet is undersized, buying more clips may not solve the underlying problem. A purpose-built AV console can offer suitable ventilation, cable openings, sturdier shelving, and removable panels. Custom cabinetry should be planned around the equipment schedule.
Consider the total equipment footprint, ventilation paths, outlet access, service space, cable routes to the wall-mounted display, and room for plausible future changes. Ask how the installer will handle thermal management if doors remain closed during use. Fans and racks can introduce noise and maintenance needs.
A One-Afternoon Media Cabinet Reset Checklist
- Document the starting point: Take photos and identify every device and connection before unplugging anything.
- Remove only verified extras: Retire obsolete equipment and cables without disturbing unknown control or network devices.
- Check manufacturer instructions: Confirm ventilation openings, shelf clearances, and safe stacking for each component.
- Lay out cable paths: Group signal cables logically, avoid tight bends, and preserve service slack.
- Label both ends: Make video, audio, network, and power connections recognizable.
- Review electrical accessories: Eliminate daisy-chained strips and unsafe long-term extension-cord workarounds; call an electrician where needed.
- Test closed-door operation: Verify remote control, network performance, source switching, and normal temperature behavior.
- Save the final layout: Keep photos, model numbers, and an equipment map for future service.
When Is Professional AV Planning Worthwhile?
Many homeowners can label accessible signal cables and tidy loose wiring. Consider professional help when the project includes a built-in cabinet, extensive home-theater equipment, network racks, multiple audio zones, unfamiliar control hardware, recurring overheating, or limited space for safe power distribution. A professional can coordinate equipment, airflow, cabling, and control.
For existing integrated systems, AVI Group’s Always On support program describes help with compatible home entertainment and networking systems. The availability and scope of any particular service should be confirmed for your setup.
Frequently Asked Questions
How can I hide cables inside a TV cabinet without making a mess?
Identify and label each cable first, then use accessible guides and reusable straps to route them without pinching connectors or blocking vents. Keep enough slack to remove a component for service. Never treat decorative sleeves as a substitute for safe electrical wiring.
How do I prevent a receiver from overheating in a cabinet?
Follow its specific clearance and ventilation instructions, leave its openings unobstructed, and provide a path for heated air to escape. If the enclosure remains too warm or the unit shuts down, a qualified AV professional may need to redesign airflow or evaluate appropriate ventilation equipment.
Should I install a fan in my media cabinet?
Possibly, but not automatically. Some cabinets can use passive ventilation; densely equipped enclosures may benefit from designed fan-assisted airflow. Fan direction, intake location, noise, service access, and the device manuals matter more than adding an arbitrary fan.
Can I put every AV device on one power strip?
Not without checking its rating, the equipment load, manufacturer instructions, and the circuit. A strip does not increase available electrical capacity, and strips should not be daisy-chained. Ask a qualified electrician if permanent power is inadequate or unsafe.
Will my universal remote work through a closed wooden cabinet?
An IR-only remote generally will not control a hidden receiver through an opaque door without a compatible signal relay. RF, Bluetooth, and IP-based systems may work differently. Verify each component and test the actual arrangement with the doors closed.
Can I put my router or Wi-Fi access point inside the cabinet?
Sometimes, but the cabinet’s material and placement may affect wireless coverage, and network equipment also needs adequate ventilation. Keep an accessible wired connection where possible, and test coverage rather than assuming the signal will be unchanged behind solid doors.
A Clean Media Room Needs a Thoughtful Equipment Plan
Good media cabinet cable management is a balance of appearance, airflow, electrical safety, and ease of use. A beautiful closed cabinet does little for the homeowner if the receiver overheats or a simple cable replacement takes an entire afternoon. AVI Group designs integrated home theater and smart home systems for Atlanta-area households. If you are planning a media room or reworking a crowded equipment cabinet, book a free consultation to discuss equipment placement, hidden cabling, ventilation, and practical control options.
Electrical and equipment safety disclaimer: This article provides general home-technology planning information, not an electrical inspection, installation plan, fire-safety approval, or guarantee of equipment performance. Follow the current instructions for each device and applicable local requirements. Disconnect equipment safely before handling accessible signal cables; do not modify fixed wiring, defeat protective devices, or work inside energized equipment. A qualified electrician should address receptacles and permanent power, and a qualified AV installer should evaluate complex enclosure cooling and integrated controls.
RELATED LINK: Legrand AV — Thermal Management in Different Types of AV Systems